Whether you need to pack your Dell Monitor away for storage or if you’d like to remove your Dell Monitor Stand to replace it with a new mount, you will have to take off the stand of the monitor. Fortunately, removing the base and stand from a Dell Monitor is a simple task that can be done by yourself in 5 minutes or less.
Dell is one of the popular brands when it comes to computer monitors and they produce a wide variety of monitor models. Using this step-by-step guide, the instructions will be applicable to remove the stands from most Dell Monitors models.
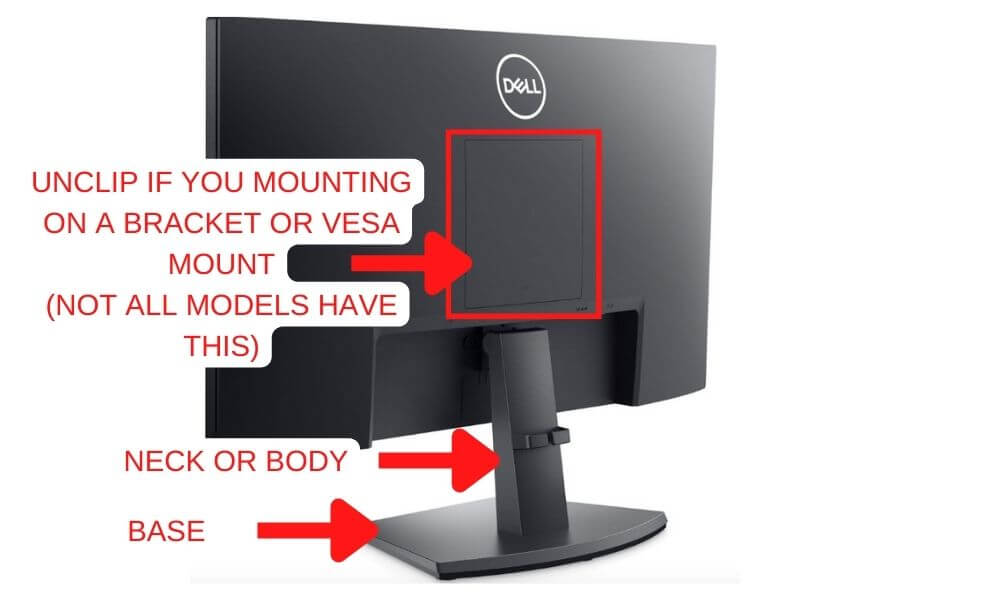
Dell Monitor Stand Removal Instructions
Prerequisites:
Have a look if your model is listed below. Here’s where to find your Dell Monitor model number:
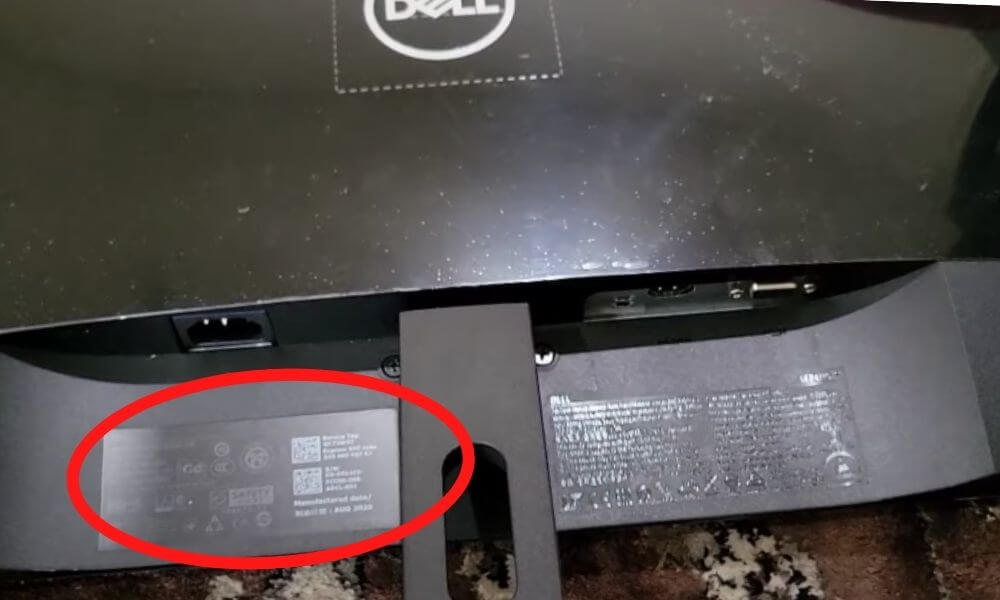
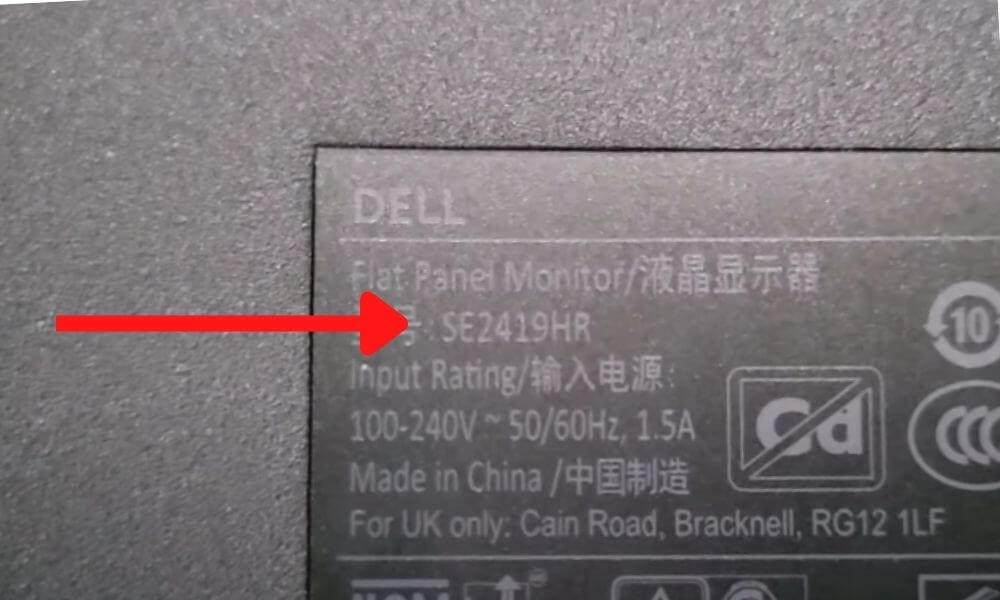
The model number can be found at the back of your monitor or on the underside. Note that the model number may be referenced as “Model”, “M/N” or just a combination of numbers and letters as in the image above.
I’ve got my hands on these Dell Monitor Models I found that their stands can be removed with the guide below:
- Model number starting with “E”
- Model number starting with “S”
- Model number starting with “P”
If your model number is not listed below, I’m still confident that the instructions below will work since most Dell Monitor stands are manufactured very similarly.
Step 1 – Disconnect the Power Supply and Auxiliary Cables
Before you begin, be sure to Unplug your Dell Monitor from its power supply and detach any other cables from the Monitor (HDMI, DVI, DisplayPort, etc.).
Step 2 – Lay the Monitor on A Flat Surface
The display of the monitor is fragile and damaging the screen is something you don’t want to do! So take extra caution when handling the monitor.
Lay a soft towel or microfiber cloth onto a table or a flat, sturdy surface. Place the Dell Monitor face down on the towel or cloth, with the base of the monitor off the edge of the table.
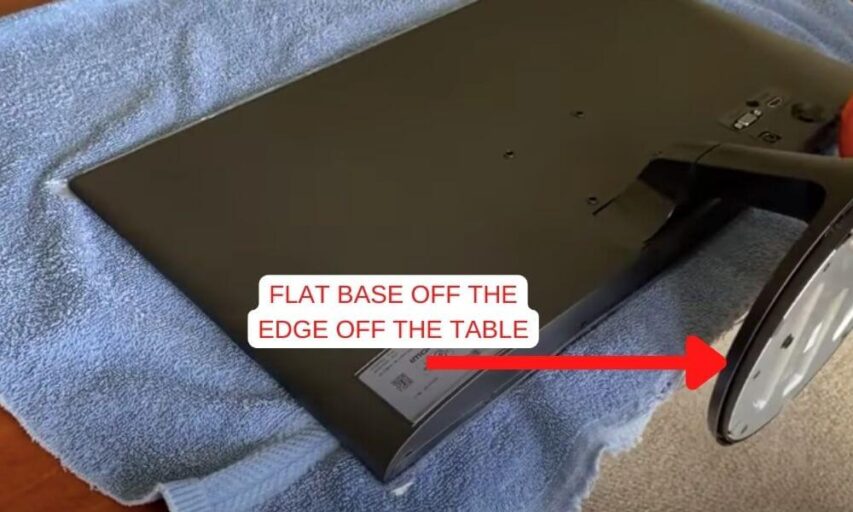
This will protect the screen from scratches or being damaged as you remove the stand.
Step 3 – Remove The VESA Mount Cover
This step may not be relevant to all models and optional in some cases. If your monitor has a square cover in the middle of the rear of the monitor, then this is a cover you can remove if you need to attach a monitor bracket such as a VESA mount. In some cases, on smaller display models, this is mandatory to remove since the neck of the monitor stand is closely attached to this point.
There a 2 ways to remove the cover depending on your model:
- If your monitor looks like the image above, then use an old credit card or a plastic tool to pry the cover out from all sides.
- If your monitor looks like the image below, then firmly pull the bottom of the cover down and upwards.
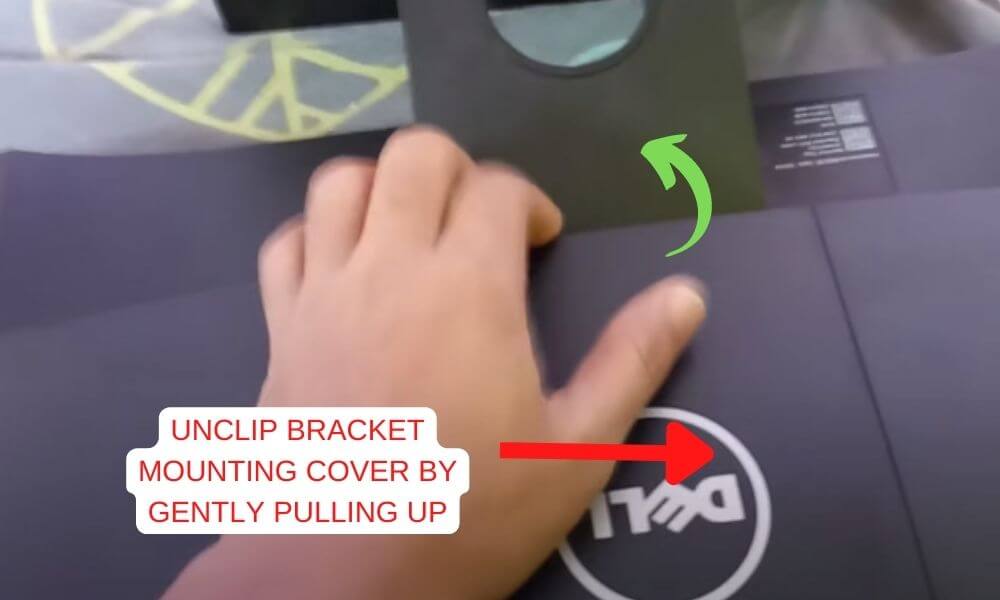
If you are packing the monitor away then you can reattach the cover after you complete all the steps to remove the stand.
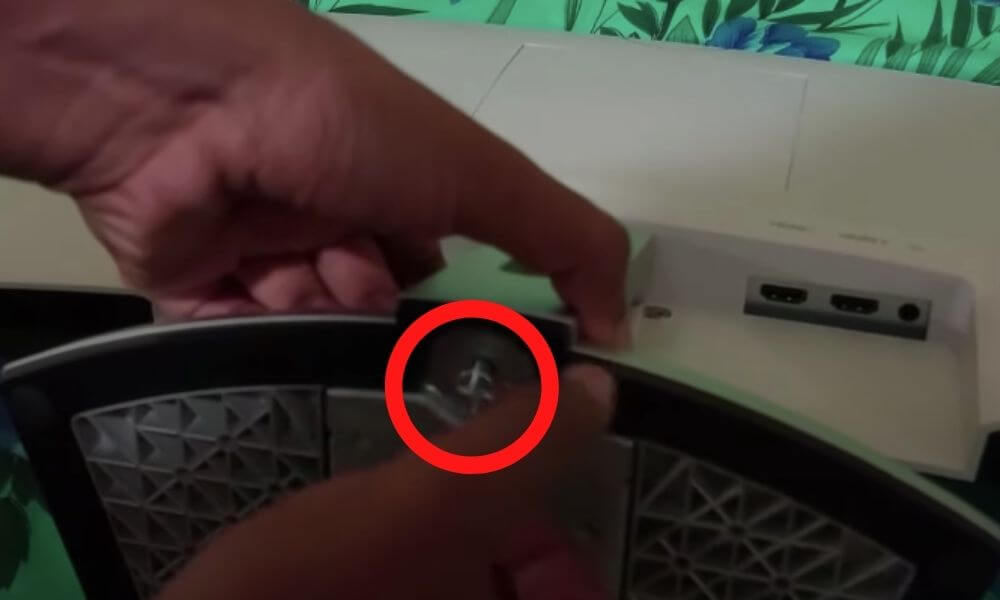
Step 4 – Removing the Monitor Stand Base
Have your screwdriver ready for the next two steps. There should be a screw in the middle of the underside of the base to remove it. Use an appropriate screwdriver to unscrew it in a counterclockwise direction to remove it. This will detach the base from the monitor stand neck.
Step 5 – Removing the Monitor Stand Neck (or Body)
Make sure you have removed the base from your Dell monitor to give you plenty of room to remove the monitor stand neck (also called the monitor’s body).
At the top of the stand neck, if your monitor has a hole / button or hidden tab in the center as shown in the image below then insert and press your screwdriver here and pull down gently to remove the neck and the base together.
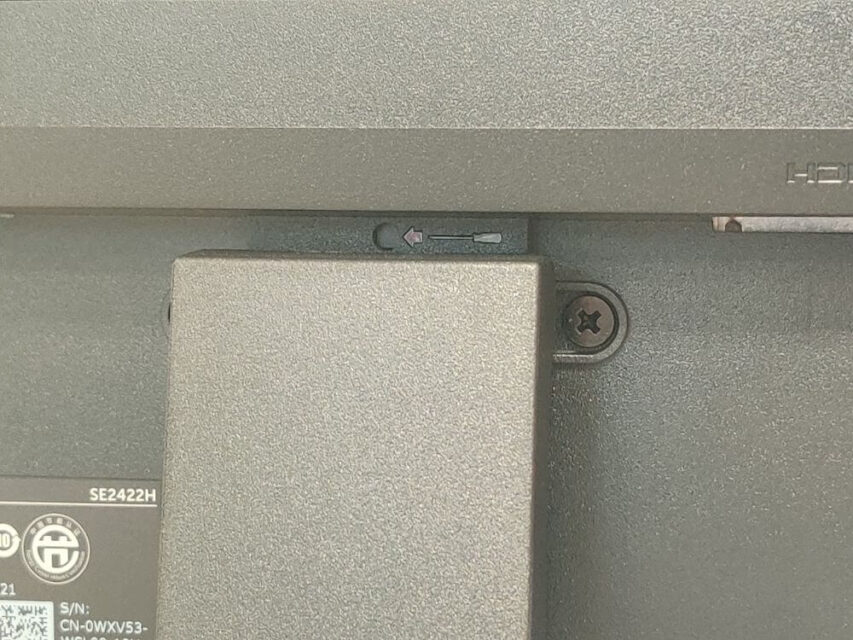
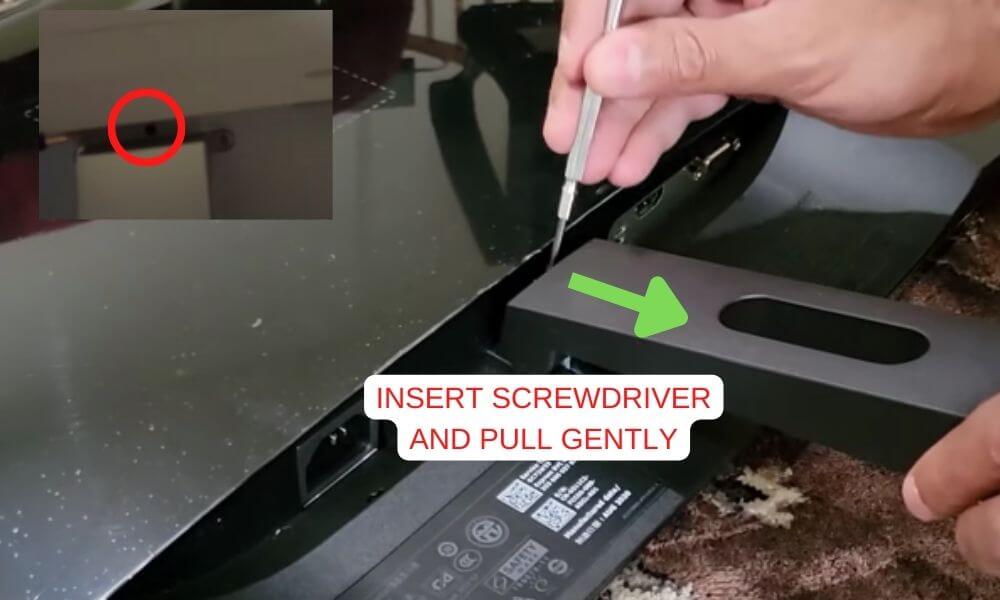
Tip: Try holding the monitor with one hand and firmly pulling the neck down with the other hand if you experience any difficulty.
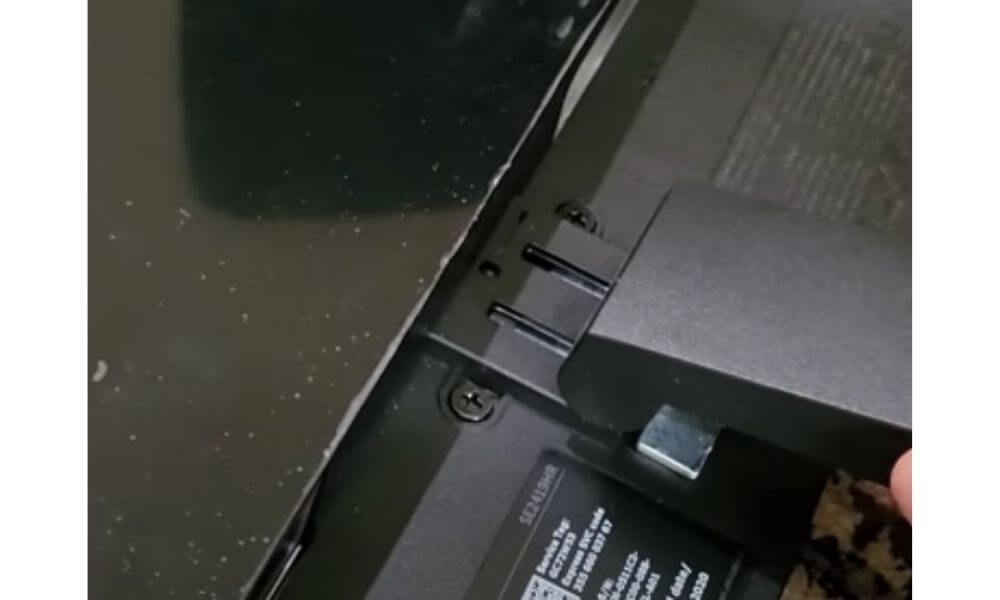
If your Dell monitor does not have a hole / button or hidden tab, then do the same thing but use the screwdriver to “pry” the neck to push out and downwards. Be careful not to damage the plastic backing as you do this step.
If you have trouble at this step, try also looking at Dell’s support community website and search up your Monitor model number for instructions.
That’s it! You have successfully taken your Dell Monitor Stand apart.
You now should have all the parts of your Dell Monitor Stand removed so you can either place it away in its box or use an alternative mount.
Conclusion
Removing the Dell monitor stand can be difficult with certain models. Fortunately, you can follow these steps which work on most Dell Monitors:
Dell Monitor Stand Removal Process:
- Disconnect power supply and auxiliary cables.
- Lay the monitor screen on a flat surface.
- Use a screwdriver to loosen the underside of the monitor’s base.
- Use a screwdriver to press the hidden button above the stand and simultaneously pull the monitor’s stand body downwards.
If you experience any trouble in getting your Dell monitor stand removed, try looking at Dell’s support community website and search up your Monitor model number for instructions or call Dell’s home & home office customer support at 1-877-717-3355. Alternatively, leave a comment below with your Model number and I will help you.
Hopefully, this guide has proven helpful and you can now remove the stand from your Dell Monitor.